Homebrew Keezer
A keezer is a chest freezer that is converted to hold beer kegs. Chest freezers are much easier to work with than regular refrigerators, can hold multiple kegs, and can be found cheaper per cubic foot.
Overview
In order to make the transition to kegging beer vs. bottling, one of the first things one needs is a way to chill the kegs. It is much easier to carbonate a chilled beer, because the gas dissolves more readily in the colder liquid. Serving the beer cold results in a better experience because, of course, it is cold, and because the gas stays in the liquid longer, resulting in less foam.
Most chest freezers can hold two kegs right off the bat without modifications. However, two problems present themselves immediately: the first being, they are freezers, so the beer will freeze. The second is that the compressor usually takes up space in the freezer, resulting in an area that is unusable because the kegs are too tall to close the lid.
Luckily there are simple solutions. To run the freezer at higher temps, between 32-40F, one can use a cheap temperature controller. This device has a probe that is placed in the freezer, and can be set to a particular temperature along with a differential for running the compressor. The compressor is then wired to this device using 120 V home wiring, a junction box, and a plug.
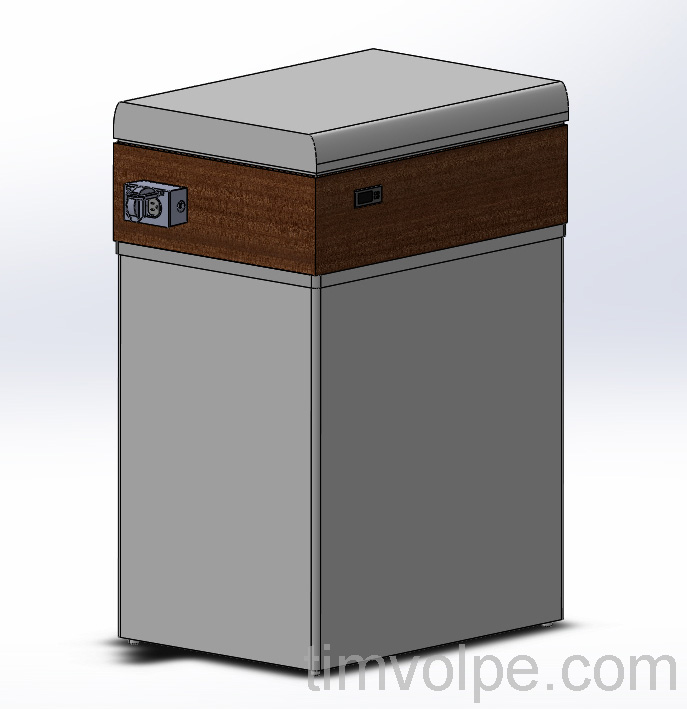
To get more kegs into the keezer, one can make it taller with a collar. Additionally, this allows a place to install the temperature controller and taps without drilling into the side of the freezer. The collar is just a square box that the freezer lid is mounted to, increasing vertical space.
Collar Design
 The Keezer Assembly
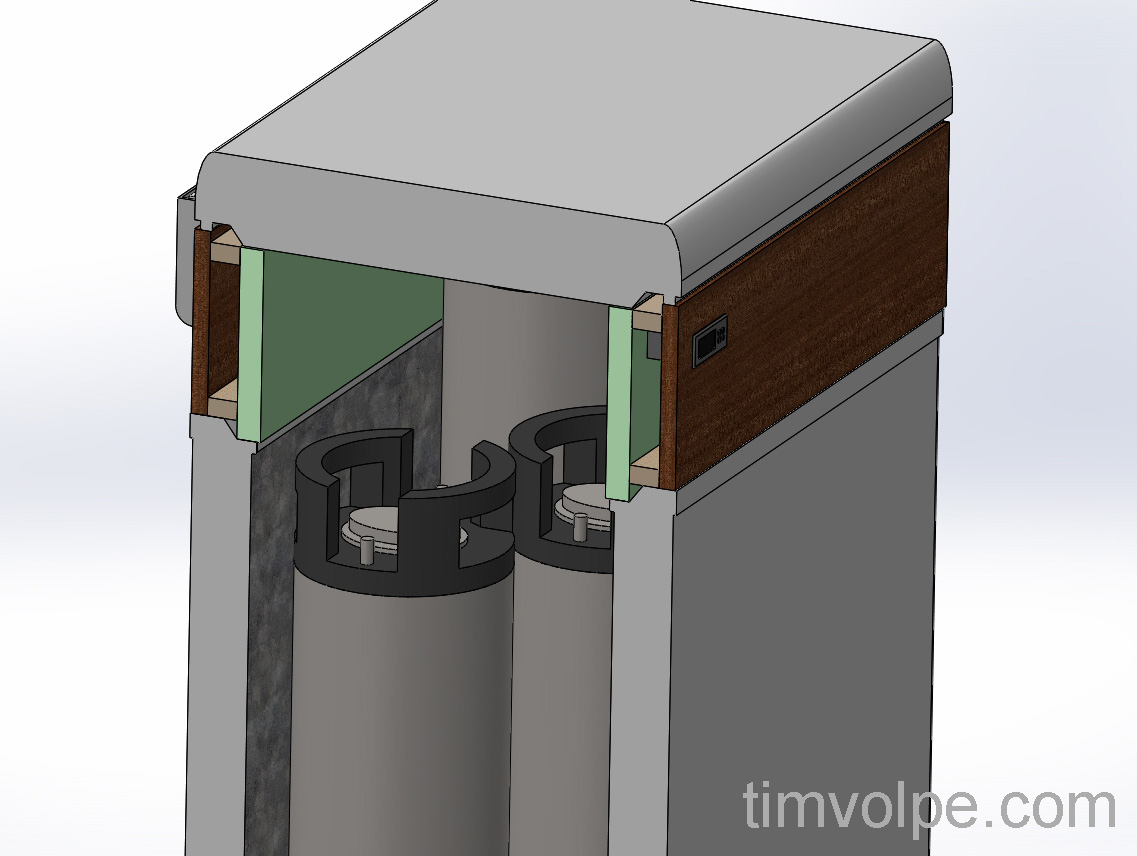
The collar design is simple; however some thought must go into it. Although many choose not to insulate their collar, I find this odd as insulating it can only help, and is not very expensive. Sheets of foam insulation with low R-values can be bought for cheap. In this case, I will use 1 inch thick foam sheets with a rated R-value of 5, in addition to a roll of “bubble wrap” style insulation that claims to have an R-value of around 14 (although I highly doubt this will be achieved in this system).
The wood trim will be whatever hardwood Woodcraft has that looks good and is cheap. The temperature controller will be mounted in the collar, and the electrical wiring will be within, running to an outlet box on the side (it cannot be in the back so that the keezer can be pushed up closer to the wall).
 A Cross-section Showing the Insulation ("Bubble-wrap" foam not shown)
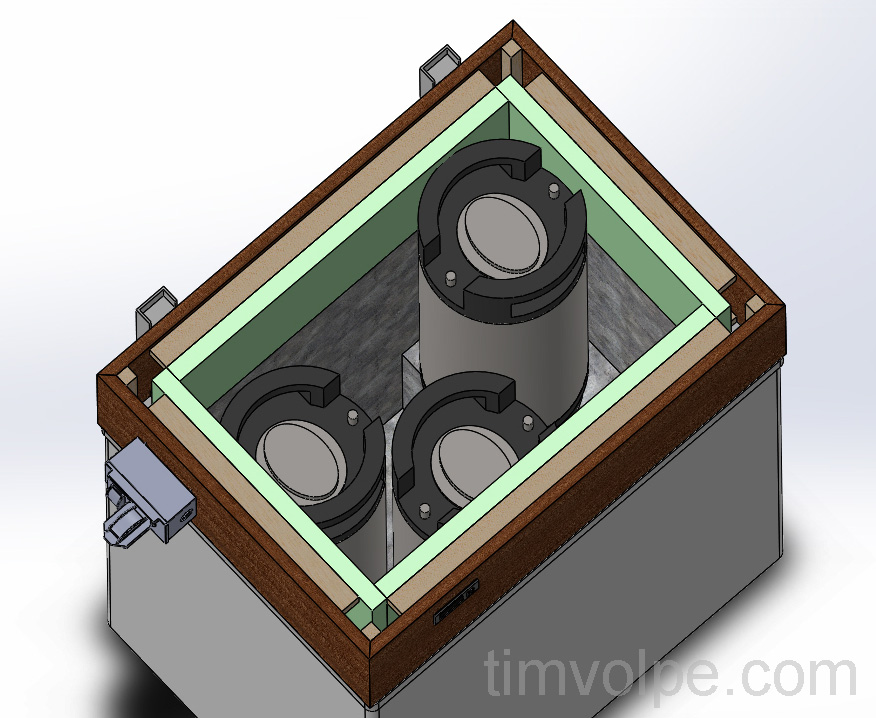
For fluid transfer in and out of the keezer, I will eventually have 3 taps, since 3 kegs can fit inside. Additionally, I will have a connector for the gas, as the cylinder will be outside the keezer. These are not shown because I have not purchased the components yet (expensive!), so picnic taps will be used in the meantime.
 A Top-Down View Showing the Kegs
Construction
The chest freezer being used is a Hotpoint 5.1 cu. ft. HHM5SMWW model purchased from Lowe's for $179.

